If you intend to have images in-between sections of text in
your blog post, whether you are creating a new blog or editing an existing blog,
this can be done in the content box where the body of your text is displayed in
Apteve.
Place your cursor in the position where you would like the image
to appear, then using the WYSIWYG editor select the image icon.
When you select the image icon, a pop-up known as Image Properties will appear.
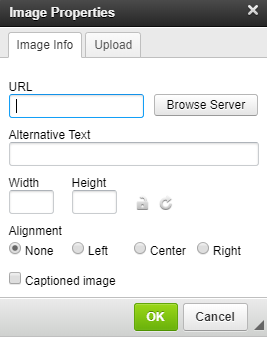
Here you can paste in the URL of an image or browse the
server. If you select Browse Server this will bring up all the images that have been uploaded into
the Images section of Apteve - see below.
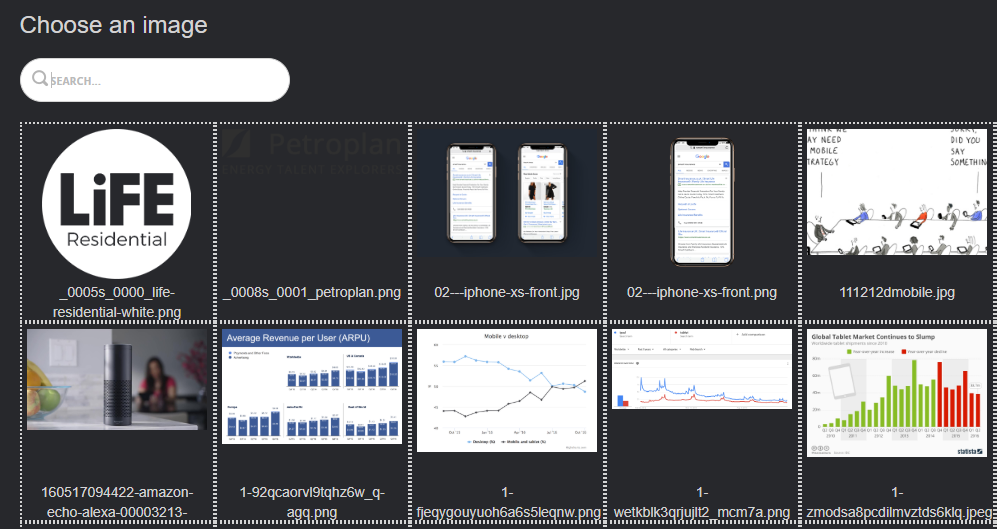
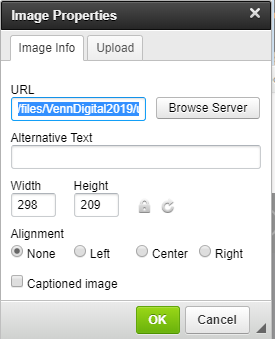
When browsing the server, simply click on the image you wish to select or search for
the image in the search box provided. After you select the image the URL will
appear in image properties, as highlighted below below.
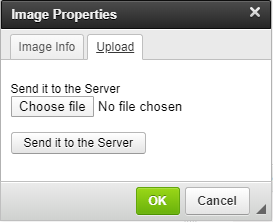
You can also upload a new image by choosing a file from your
personal documents. Make sure to send the image to the server, otherwise the
image may not appear on the front end of your blog.